This guide explains how DTF curing ovens work, how to adjust oven temperature, and how to approach time and temperature testing for different transfer sizes.
The values below should be treated as practical starting points, not universal rules. Curing results can change depending on your film, powder, ink load, print size, oven type, airflow, temperature accuracy and how evenly heat reaches the transfer.
Powder must melt
The adhesive powder needs enough heat and time to melt into a smooth, consistent layer on the printed film.
Ink load matters
Large prints and heavy ink coverage usually need more curing time than small logos or low-coverage artwork.
Do not over-cure
Too much heat or too much time can damage the transfer, reduce quality or make the film difficult to work with.
What a DTF curing oven does
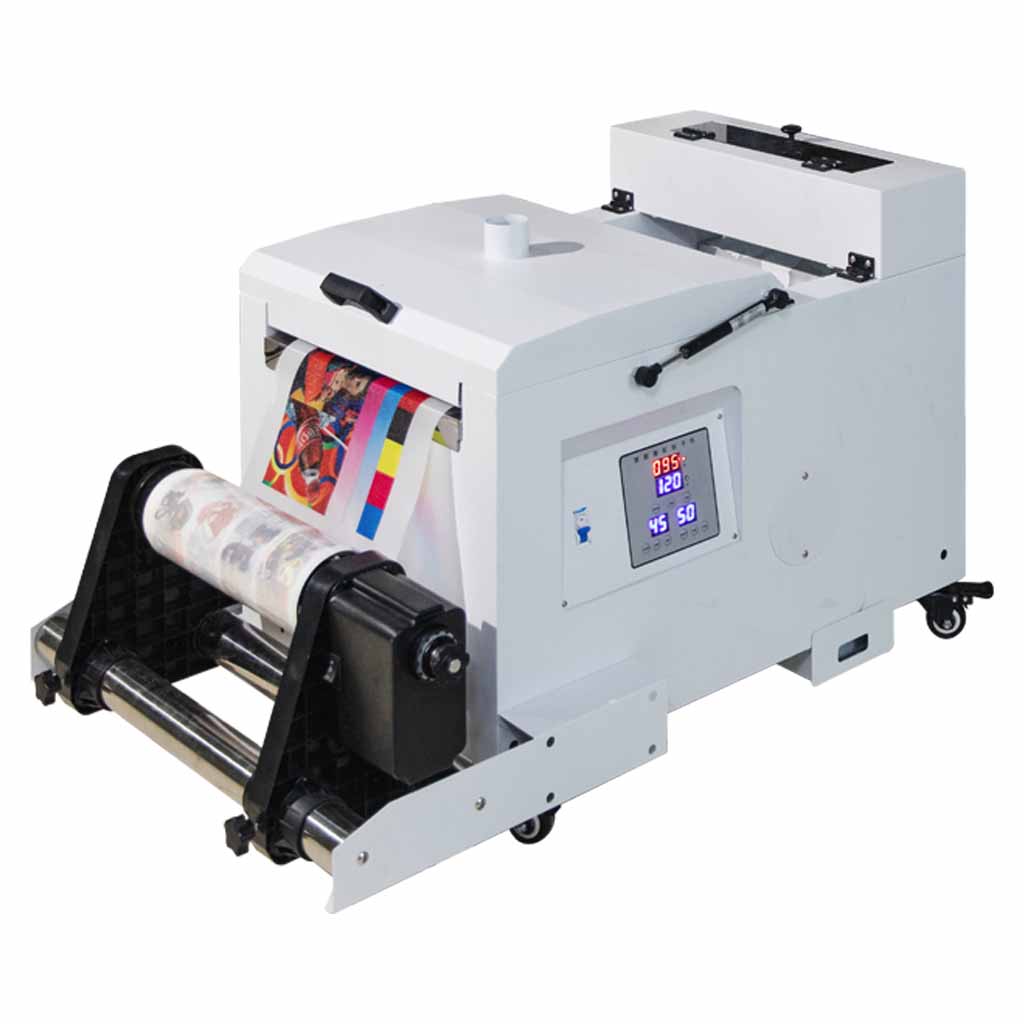
A DTF curing oven heats the printed film after adhesive powder has been applied. The powder melts and bonds to the printed ink layer, creating the adhesive layer that later helps the design transfer to the garment during heat pressing.
Under-cured transfers
If the transfer is under-cured, the powder may look grainy, uneven or not fully melted. This can affect adhesion, wash performance and final print feel.
Over-cured transfers
If the transfer is over-cured, the print may lose quality, become harder to press, show film issues, or become less consistent across the design.
How to adjust curing oven temperature
Most desktop DTF curing ovens use a basic temperature controller. The exact layout can vary, but many controllers use similar terminology.
PV and SV explained
PV normally means the current temperature inside the oven. SV normally means the set value, or the temperature you want the oven to reach.
Always allow the oven to stabilise before judging the cure result.
Changing the set temperature
- Press the Set button once to enter temperature adjustment mode.
- Use the up and down arrows to adjust the set value.
- Use small changes first, usually 5°C to 10°C at a time.
- Wait for the oven to stabilise before testing a transfer.
- Avoid large temperature changes unless you are deliberately testing.
General curing time and temperature reference
The following table is a practical starting guide. Your real-world results should be confirmed with your own oven, powder, film and artwork.
| Print type | Typical starting range | What to watch |
|---|---|---|
| Small logos / low coverage | 90°C to 105°C, shorter cure time | Small prints can cure quickly. Avoid leaving them in the oven longer than needed. |
| Medium prints / average coverage | 100°C to 110°C, moderate cure time | Look for smooth powder melt and consistent finish across the design. |
| Large prints / heavy coverage | 105°C to 115°C, longer cure time | Large prints may need repositioning so edges cure without over-curing the centre. |
| Full-bed coverage | Test carefully around 105°C to 115°C | Move the print during curing if required to avoid uneven cure or over-heating one area. |
These are starting points only. A transfer is only cured correctly when the adhesive powder has fully melted without burning, over-cooking or damaging the print.
How to test curing properly
Because every artwork file is different, testing is the safest way to find your own oven settings.
Start with a known setting
Begin with a conservative temperature and time based on the print size and coverage.
Inspect the powder
The powder should melt into a smooth layer. Grainy powder usually means more cure is needed.
Press and wash test
A cure test is not complete until the transfer has been pressed and checked for adhesion, stretch and wash behaviour.
Curing large or full-bed transfers
Large prints can be harder to cure evenly because the centre and edges may not heat at exactly the same rate. If the transfer nearly fills the oven bed, repositioning may help create a more even cure.
Why movement may be needed
If the centre of a large print receives more consistent heat than the edges, the centre may over-cure before the edges finish curing. Moving the transfer during the cure can help balance the result.
Example movement approach
Start with the print centred, then move it so one half receives more heat, then reverse the position, then return it to centre briefly if required. The timing depends on your oven and artwork.
Common curing issues
If your transfers are not pressing correctly, curing is one of the first areas to check.
| Issue | Possible cause | What to check |
|---|---|---|
| Powder looks grainy | Under-cured adhesive powder | Increase time slightly or confirm oven temperature accuracy. |
| Transfer feels over-cooked | Too much heat or too much time | Reduce temperature, reduce time or test with a smaller adjustment. |
| Edges not curing evenly | Uneven heat distribution on large prints | Reposition large transfers during the cure and test again. |
| Transfer does not press well | Curing, pressing or artwork issue | Check cure, press temperature, pressure, time, garment type and peel method. |
Curing and pressing work together
A correctly cured transfer still needs the correct heat press settings. Time, temperature, pressure, garment type, peel method and post-pressing all affect the finished result.
Related DTF Store guides and supplies
These pages can help with curing, pressing, transfer quality and consumable selection.
Final thoughts
DTF curing is not just about choosing one temperature and leaving every transfer in the oven for the same amount of time. The best result comes from matching the cure to the artwork size, ink coverage, powder, film and oven behaviour.
Start with a safe temperature range, test your own workflow, inspect the powder melt, and always confirm results with proper pressing and wash testing before production.